 Utkarsh Karale
 Secure Remote Access to Your Ubuntu PC with SSH and Cloudflare Tunnel
How to access your Ubuntu machine remotely without a static IP using OpenSSH and Cloudflare Tunnels.
Sometimes you want to access your Ubuntu machine remotely, but you don’t have a static IP. That was my case recently. I wanted to set up a secure SSH tunnel, and I managed to do it using OpenSSH along with Cloudflare Tunnel. Here’s how I did it.
Step 1: Install OpenSSH
On my Ubuntu machine, I first installed OpenSSH:
sudo apt update
sudo apt install openssh-server -y
sudo systemctl enable ssh
sudo systemctl start ssh
This ensured that the SSH service was running and ready to accept connections.
Step 2: Check SSH Status
You can confirm that SSH is running with:
sudo systemctl status sshThe default SSH port is 22, so I could access my machine locally via:
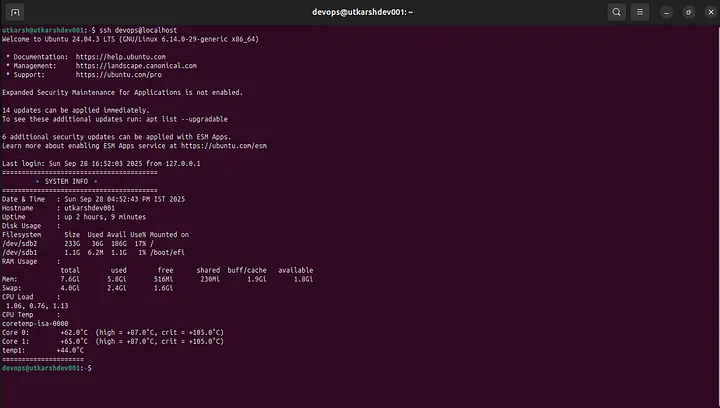
ssh username@localhostStep 3: Handle Dynamic IP with Cloudflare Tunnel
Since my PC didn’t have a static IP, I used Cloudflare Tunnel to expose my localhost securely to the internet. This way, I could connect from anywhere without worrying about IP changes.
Steps:
- Install Cloudflare Tunnel on Ubuntu.
- Authenticate with your Cloudflare account.
- Create a tunnel that points to
localhost:22.
Now the tunnel forwards traffic from the internet to my local SSH port.
Step 4: Add SSH Key to Authorized Keys
1. Generate SSH Key (if you don’t have one) On your local machine (Ubuntu, Mac, or Windows with Git Bash/WSL):
ssh-keygen -t rsa -b 4096 -C "your_email@example.com"Press Enter to accept default file location (~/.ssh/id_rsa). Optionally set a passphrase for extra security.
This creates:
id_rsa→ private key (keep safe, never share)id_rsa.pub→ public key (this is what you share with the server)
2. Copy Public Key to Remote Server
ssh-copy-id username@localhostIf using Cloudflare Tunnel, first do it locally on the server:
cat ~/.ssh/id_rsa.pub >> ~/.ssh/authorized_keysMake sure the permissions are correct:
chmod 700 ~/.ssh
chmod 600 ~/.ssh/authorized_keys
3. Test Local SSH Connection
ssh username@localhostYou should now log in without a password if using key-based authentication.
Step 5: Connect Remotely
Once the Cloudflare tunnel was up, I could connect to my Ubuntu machine from anywhere:
ssh username@<cloudflare-tunnel-address>The traffic is routed securely via the tunnel, giving me the flexibility of remote access without a static IP.
Conclusion
Using OpenSSH along with Cloudflare Tunnel is a simple yet powerful solution for remote access when you don’t have a static IP. It’s secure, fast, and reliable.
What’s even more exciting is that the same SSH tunnel lets me access my PC’s terminal directly from my mobile!